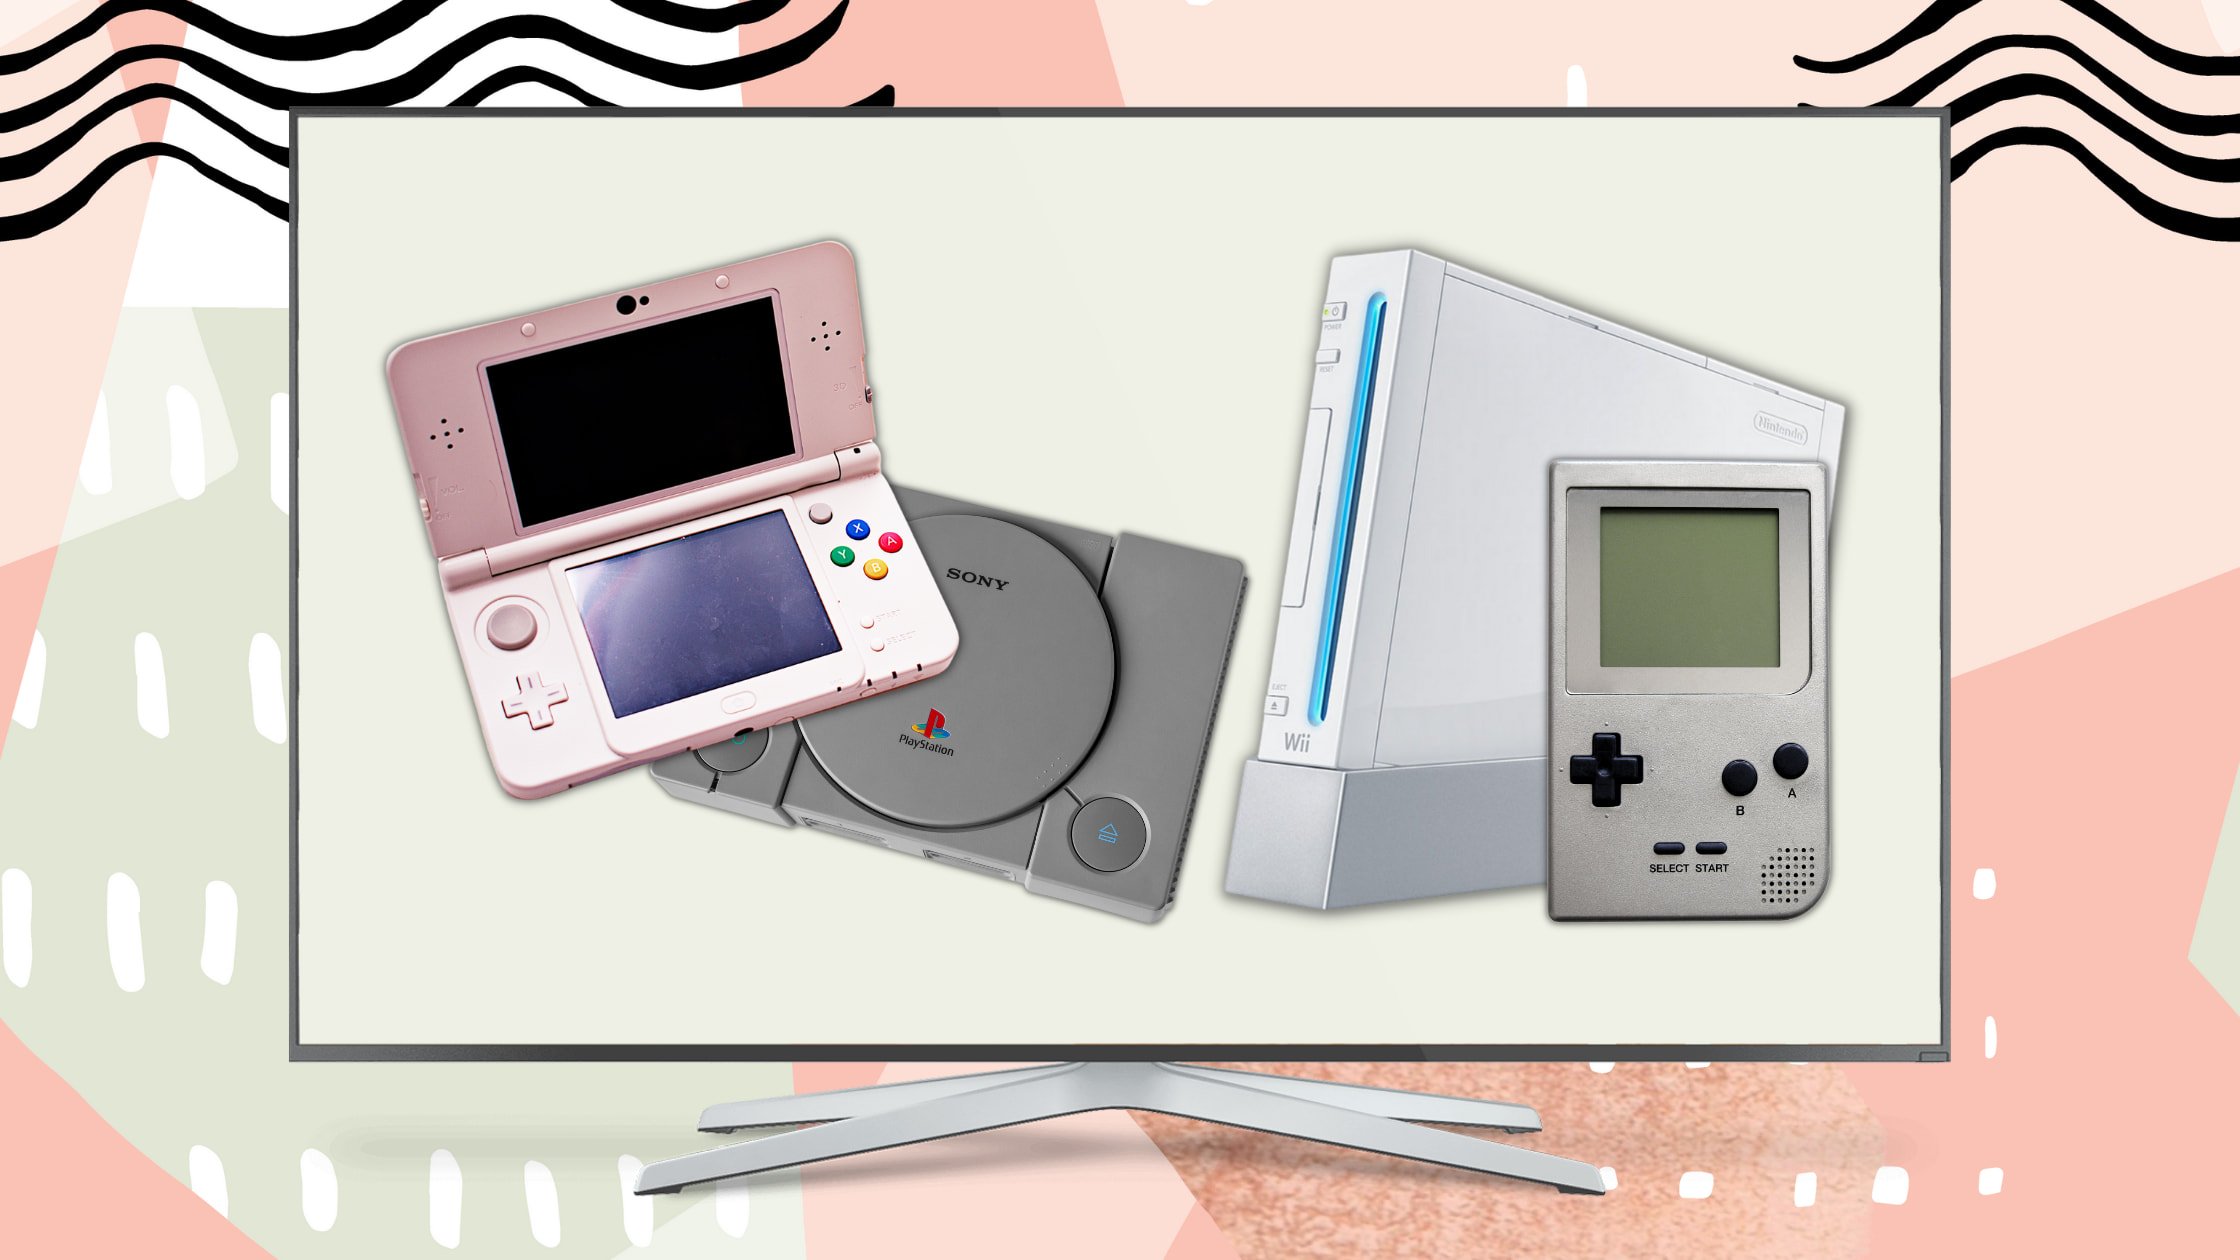

Getting rid of your old gaming consoles and their accompanying home game console accessories might be heartbreaking for any gamer. But with evolving media technologies, change is inevitable.
Modern TVs have evolved to use better and more efficient systems. Unlike previous television sets, modern TVs have better specifications. The old CRT has passed on its legacy to the slimmer modern displays that are more energy efficient.
The newer, thinner televisions are available in different display options and even sizes. These make playing games an enjoyable experience with the rich colours and large screens. Many of the ports on your TV have also been replaced by HDMI cables. The RCA and composite ports may not be available on many modern televisions.
So, can your modern TV play retro games? The short answer is yes.
Do not just give up on your nostalgia-inducing gaming consoles just yet. Connecting your gaming consoles to newer televisions or displays just need the right cables like SCART cables to allow you to get playing again.
In this post, we will walk you through the steps to set up your gaming consoles, troubleshoot your problems, and answer some of the most frequently asked questions too!
So, get ready with your favourite gaming headset for a trip down the gaming memory lane.
Know Your Cables: Connections for Your Classic Video Games

It was not an odd sight to have a bundle of cables just to connect an old TV with different devices. Many retro gaming consoles come with multiple output ports that differ in respect to the quality of the image.
You will be able to find many of the following, if not all, output ports on your console.
| RF | This output source transmits video using radio frequencies and connects to the antenna port of the television. They have become obsolete with newer television sets and offer the lowest resolution quality. |
| Composite | Composite video offers better quality than the RF, but it is still considerably low in image quality. These separate video and audio into different cables, which is commonly handled by the yellow, red, and white RCA cables. |
| S-Video | These cables are less common in modern TVs, though they offer better quality than the previous ones. The S-video cable splits luminance (black-and-white signals) and chrominance (colour signals) into separate lines within the cable. |
| RGB or SCART | With SCART cables, the red, blue, and green signals are split into their own lines in the cable. This results in a higher quality of image output compared to the previous options. |
| Component | These cables are similar to the RGB cables but are not common in Europe. |
Game On: How to Connect Your Retro Console to a Modern TV
Do not let your old video games become just a part of your memory. Whether it is your PS1 or SNES, we will help you figure out the best way to start enjoying your retro games.
Check your televisions before you try anything else. If the right ports are available then you are good to go. But if something is still amiss, here are a few things you can try.
Enlist the Help of Other Television-Related Gadgets
You do not need to connect your gaming console directly to the TV to use them. Devices like a VHS or a DVD player that still connect to your TV can be used for your gaming console. The right ports just might be available on them.
Connect the cables to the device. Turn ON all the connected devices and use your TV as you would with the VHS or DVD player.
Displays of All Types and Sizes
Playing on the television is in itself an experience that continues after all these years. But do not forget that many gamers can be found playing on computer monitors.
Projectors, computer monitors, and other displays could have the necessary ports to make the right connections. Try setting up your gaming system to these displays, and keep your fingers crossed.
Adapt with an Adapter
A cheaper alternative to buying new cables is investing in an adapter. You can find original adapters for some gaming systems. However, many reputable products that are just as good are available.
These adapters help you create connectivity by bridging the old with the new. One end of these adapters has a port compatible with your modern TV, while the other end has ports for your retro console’s cables.
When purchasing adapters keep in mind their compatibility with both your display and the consoles. For example, older consoles like SNES or N64 will use an AV to HDMI convertor. Some adapters are designed to work only with PS1 or PS2. On the other hand, you will be able to find general adapters that work with a range of systems.
Maybe Upgrade?
Indeed, playing your favourites on your Super Nintendo or Sega gaming consoles is a lot more fun and full of reminiscence. But you could try to create new memories with your much-loved games with modern consoles.
Many companies have re-launched popular retro games thanks to the demand of the gaming community. A great example is an entire library of popular SNES and NES games made available to Nintendo Online accounts.
It might be a great idea to enjoy your favourites with the comfort of the new gaming controllers you have gotten used to.
How To Step-by-Step Guide to Connecting Your Gaming Console to a TV
In this section, we will look at how to connect popular retro consoles to your modern television, including your Smart TV.
How to Connect a NES or Super NES to a Smart TV

Your 8-bit Nintendo Entertainment System 9 Famicom) or 16-bit Super Nintendo (Super NES/SNES/Super Famicom) can be directly connected to your HDTV via the AV cables. Connect the cables to colour-matched ports on both devices, and you should be able to start playing.
If you are good with electronics and are looking for a DIY project, consider fitting a component video output in your SNES. Alternatively, use a universal S-Video cable which can also be used with the N64 and GameCube for better image quality.
You could also opt for an HDMI Converter Adapter for NES, SNES, GameCube, and N64 consoles.
If your TV has an RF port, you can also use it to connect your console. However, the quality is unlikely to be great. The RF switch box will connect to the port next to the power socket on your NES and use the same channel as the cable box on your TV.
How to Connect a Sega Genesis Console to Your New TV
Different Sega consoles have different cables. Make sure your cable matches the console before using it.
While HDMI mods are available for Sega consoles, they tend to be quite expensive. To connect your console to the HDMI port of your TV, you will need an HDMI adapter. Plug the round DIN connector into the AV port on the back of the console and the HDMI connector to the TV.
To use the composite video connection, you will need a composite video cable corresponding to the model of your Sega console. Plug the round AV output into the console and the other ends into the colour-matched RCA jacks.
You can leave out one of the audio cables (red and white) if only one audio port is available. If your TV has component inputs, the green and yellow can be used with these cables. Select the right source channel, and you are ready.
If RF connections are possible with your TV, you can use the RF cable or an original NES RF video cable as previously discussed. You could also look for an F connector plug, such as an Atari F plug adapter that offers better display quality. An RCA female to male F connector along with an RCA video cable will also allow you to connect to your TV.
How to Connect a Nintendo Wii to Your Modern TV

There are a few different options available for your Wii console. The Wii AV Cable should easily connect to the RCA TV inputs.
When using an S-Video connection, make sure to connect the red and white audio cables to your TV as well as the S-Video. On the other hand, you can also use RCA to SCART adapters which allow you multiple connections.
If using a component cable (5 inputs), you will be able to make the connections based on the colour. However, if the colours are mismatched, connect the red and white audio jacks to the right and left port, respectively. The video ends connect in the following manner; green to Y, blue to Pb/Cb, and red to Pr/Cr.
On your smart TV, you can use a Wii to HDMI adapter to connect the console with the HDMI port on your TV.
Once connected, look for the right source channel (some connections may need Progressive Scan enabled), and you should be able to enjoy your games.
How to Connect Your PlayStation 1 or 2 to Modern Televisions

Your Sony PlayStation allows you four types of connections; RF, composite RCA, S-Video, and HDMI. Of course, the HDMI connection will give you the best quality of all four connections.
For RF connections, which should be your last resort, connect the plug into the console. Connect the screw end of the RF box to the cable port and the TV cord to the RF box.
RCA connections are straightforward. Plug the cable into the console and colour-match the jacks to the inputs in your TV. Similarly, S-Video connections are in line with the RCA connections. Plug the video jack in the S-Video port and the audio in the red and white (left and right) ports.
Tune in to the right channel to get started with your favourite PlayStation games.
How to Hook-up Your Atari 2600 Gaming Console to a TV
You can play your Atari 2600 using the RF connector on the back of your TV. Use a female to male coax adapter and connect the RCA cable. Install this in the RF connector of your TV, and you are done.
Alternatively, you could connect the above connection to the RF pass-through circuit of your VCR or DVD player and use those devices’ connections with your TV. Tune in to the right channel, and you are ready to play.

Fix-It: Troubleshooting Problems with Retro Gaming and Modern TVs
You have dusted off your gaming console, put in your favourite games, made the right connections, but the games don’t feel the same? Here are some troubleshooting steps you can do to make things work.
Double Check Your Connections
The plug and unplug solution will help you fix any loose connections between your gaming console and the TV. Often, if it’s a loose connection that is the culprit. This can also be because of dirty ports or cable ends.
We recommend you give all the ports, cables, and the console a good cleaning before you start. Use cotton buds to get into the nooks and crannies to get all the dust out of them. You could also use pressurised air to get to the hard-to-reach places. Finish off the cleaning by rubbing down the surfaces with rubbing alcohol. Check out our cleaning and hygiene products for some great options.
If all the connections have a good fit and the set-up still does not work, maybe it’s the wrong connection. Check if you have connected the cables to the right port. With RCA cables, use their colour coded jacks to connect to the corresponding ports.
Flip Through the Channels
Depending on the input port, your television may use different channels for the output. Many modern televisions will have a Source button on their remote. Press the button to move through the different channels until you find the right output channel.
If not, you can check the settings menu to select the input source once you have the gaming console connected to your TV.
All Systems Running?
The issue could be a hardware one. As with any electronic gadget, long periods of disuse and improper storage can make them no longer functional.
If you have followed our cleaning suggestions and done the previously mentioned troubleshooting, it is most likely the console itself is not working. Unless you are confident in your repair skills, we highly recommend taking it to a professional to get it fixed.
The Right Image
Older televisions were boxier with low-resolution, analogue signal transmission. Modern televisions have drastically improved since you last used your gaming consoles.
On the settings menu of your TV, adjust the image resolution and aspect ratio. Most vintage games were made for squarish displays; and hence, you may see some black borders on your rectangular TVs.
Reboot: How to Safely Reboot Your Old Gaming Consoles
Though we do not recommend it, it is possible to fix a few issues with your gaming console at home. Here are a few ways to reboot your gaming consoles.
Clean the Gadget

Clogged systems trap heat inside, which results in the heating of the console, in turn slowing down its performance. Use a vacuum cleaner to get dust and dirt out of your consoles and their associated accessories. You could also use wet wipes specifically designed for use with hardware to remove any grime and dirt.
Hardware Failures
Gaming consoles are not designed to last for more than 20 years. Your gaming consoles can burn out, or their batteries and capacitor might leak. These parts, therefore, need to be replaced. Follow these steps to get to the root of the issue.
- Disconnect the gaming console from the power source and ensure it is completely turned OFF.
- Place the system on an anti-static mat before beginning to disassemble.
- Open the system, and use a multimeter to check if all the components are connected correctly.
- For portable controls with leaking batteries, the blue-green corrosion can be removed using vinegar and an old toothbrush. In case the leak has spread onto the motherboard, use fine-grain sandpaper to remove it.
- If any components seem to be completely burnt out, consider purchasing them or seek help from a professional.
Power Supply Unit
The Power Supply Unit (PSU) can be the problematic part of your gaming console. Blown fuses, bad ventilation, and damaged circuitry can result in the failure of the PSU of your retro gaming device. It could also be a bad power cable that is the culprit.
While turning on the system will let you know if it is a PSU issue, it can burn the circuit if it turns out to be true. Checking the PSU with a multimeter requires opening the console, offering a better alternative. However, you risk the possibility of electric shock.
Replacing the PSU or the bad power cable is a safer and smarter option. The newer versions of the PSU available for the retro systems incorporate safety standards and modern components that are made to last.
In Control of the Game
If your gaming controllers are not working, then a working console is of no use. While some controllers’ LED indicators may light up, this might not guarantee functionality.
Before you look into repairs or replacements, try cleaning the controllers and joysticks. Use a cotton swab or a soft cloth with a bit of isopropyl alcohol to clean dirt and grime. You can also go in with a toothpick to get to the hard-to-reach places.
But if the cleaning does not work, your best bet is to find a replacement. You can approach a specialist to fabricate a replacement or opt for modern alternatives that usually connect directly or via an adapter.
FAQ: Answers to Your Retro Gaming Console Issues
In this section, we have answered some of the commonly asked questions about playing your old gaming consoles and connecting them with modern televisions.
What are common problems with playing old consoles on modern TVs?
The difference in the technology of older consoles and modern TVs is rather vast. The following are some common issues you will encounter when trying to play your old gaming system on modern television.
- The ports and cables have undergone a huge transformation. Most modern TVs use HDMI and/or coaxial cable connections.
- Older games have lower resolution. Even with upscaling, the quality might not be great.
- Years of storage can cause dirt and grime to build up in your consoles. There could also be an infestation problem.
- Broken or non-working parts may require replacement. While you can find legacy parts online, the whole affair may turn out to be expensive.
Why is the image quality of my classic games so terrible?
Older gaming systems with their simple electronics were designed to work with CRT television sets. Thus, the disparity between the old and the new technologies result in bad quality.
The following are some causes and fixes for terrible image quality.
| Problem | Fix | |
| Incompatibility | Modern HDTV cannot display image quality below VCR levels. Even if you manage to get your retro systems working on these TVs, the output may be a mess or look corrupted. | Since classic gaming consoles were designed for CRT televisions, your best option is to buy one. |
| Resolution | The resolution of your SNES classic is highly unlikely to match that of your HD televisions. Older gaming consoles were typically designed to output lower resolutions; around 256×224. | Invest in higher-quality cables like S-Video or RCA. However, there is a limit to how much improvement can be expected on the original hardware. |
| Aspect Ratio | Older TVs had aspect ratios of 4:3, while modern TVs are more rectangular, with HDTVs having 16:9 aspect ratios. | Try setting the aspect ratio to the original 4:3 in the image settings. You can also try the zoom option on your TV, but this might cut off the top and bottom of the game display. It could also reduce the image quality. |
| Input Lag | Modern TVs may apply the television motion interpolation or other post-processing in the background while upscaling your game. This can result in pressing a button and having a delay in the display response (input lag). | In your TV’s settings, select the Game Mode to disable all the post-processing. This will help reduce the input lag but not eliminate it. |
How do I improve the image quality of my retro games on modern television? How to make retro consoles look good on HDTV
In addition to our above suggestions, there are other approaches to getting a higher display quality from your Super Nintendo or other retro consoles before PlayStation 2.
While a little more on the expensive and complicated side, a true retro gaming enthusiast can achieve HD outputs with an external scaler. The popular choice is the XRGB-Mini Framemeister, which though discontinued can still be found online.
Connect the XRGB-Mini Framemeister to the composite, S-video, or RGB and then to the TV via the HDMI cable. For RGB supporting gaming consoles, use a SCART cable along with a SCART-to-XRGB-Mini adapter for the Framemeister.
A cheaper alternative is the Open Source Scan Converter (OSSC) that offers less input lag than the Framemeister. However, this works only with SCART, component, and VGA inputs, and may have compatibility issues with some televisions. Though not as powerful, the RetroTINK-2X is a great budget-friendly option.

Have there been any updates for the classic gaming systems?
The popularity of retro video games has brought some new life to them. Games companies have re-launched many of their original games digitally and with all-digital hardware for you to go down memory lane.
Emulation using PC, custom-made Raspberry Pi, or a set-top box like the NVIDIA SHIELD, also allow you to enjoy the classics in full resolution with digital output using original ROM files.
You can also look for newer reverse-engineered versions of retro gaming consoles that play your original cartridges with modern TV outputs. Though, you may only find these for the most popular classic games.
How to connect multiple consoles to one TV. Can I connect multiple old consoles to one TV?
Switching between multiple consoles can be a hassle. Here is how you can hook up multiple retro consoles to one TV. If your TV has multiple inputs, simply connect your consoles to them. Switch between your TV channels to find the corresponding source for your gaming console.
A splitter is a great choice if there are fewer inputs in your TV than the number of gaming systems you have. Connect the splitter to the TV input and your consoles to the splitter. Switch between the splitter inputs using the available button, remote or switch to play one of your video games.
If you have multiple TV inputs and multiple splitters, you can connect as many gaming consoles as possible with them to have a gaming den.
Can I play my Game Boy Advance on my HDTV? How to connect your retro Game Boy with your latest TV

For a direct-to-TV option, you need a TV-out adapter for your Game Boy. This connector plugs into the original device and has one end with RCA connectors. Simply connect to the right ports to get started. However, the quality of this connection is not great.
The Game Boy Player accessory for the GameCube is a popular choice to play your Game Boy on your television. This will allow you to play your Game Boy Advance and Game Boy Colour cartridges too. This expensive yet effective choice offers an authentic playing experience. The gaming system connects to your TV using a composite cable or an HDMI adaptor.
Other options include the Wii U Virtual Console, GBA Consolizer accessory, RetroN 5 third-party console, and Super Retro Advance accessory.
Let the Games Begin!
Now that you have figured out how to connect an old console to a new TV, the next step is to invest in some great gaming accessories. With the right accessories and gaming setup, you will be able to enjoy your favourite childhood games even more.
Do you have any gaming gadget queries? Or are you looking to enhance your gaming experience? Get in touch with us to find your next gaming treasure.