USB flash drives are a popular choice for portable storage solutions. These storage devices come in many shapes and data storage sizes and have a wide range of compatibility. You can learn about how to make the right pen drive purchase with our USB Stick Buying Guide: How to Choose a USB Flash Drive?
Plugging in the USB the right way round isn’t the only problem with USB sticks. You must have come across issues like “USB device not recognised” or “Cannot Format USB Flash Drive” when you plugged it in after using it with another device.
There are some precautions that you can take to avoid the USB flash disk problem before you begin using it. Some good practices will also help you to minimise the risk of USB flash drive security issues and data corruption.
In this post, we help you learn how to format a USB stick, how to transfer digital data, and figure out solutions to common USB flash drive problems.
Dos and Don’ts When Using a USB Memory Stick
Before we dive into answering USB memory stick problems, we want to share with you the best practices to follow when using them.
Keep them Safe from Environmental Factors
Like any other electronic gadget, your USB thumb drives can run into problems when exposed to high temperatures and moisture. Extreme temperatures and water can affect the circuitry of the pen drive, which can, in turn, corrupt the data or permanently make the pen drive unusable.
Store them Properly
While most USB pen drives are designed to handle accidental bumps and falls, it is always a good idea to store them properly. Your best bet is to store them in a clean container of any kind that will reduce the impact of any kind of physical damage.
You could also use a lanyard or a wristband if you are constantly using the thumb drive to avoid accidentally damaging it. These steps will also help eliminate damaging them with unnecessary physical loads.
Keep the Lid On
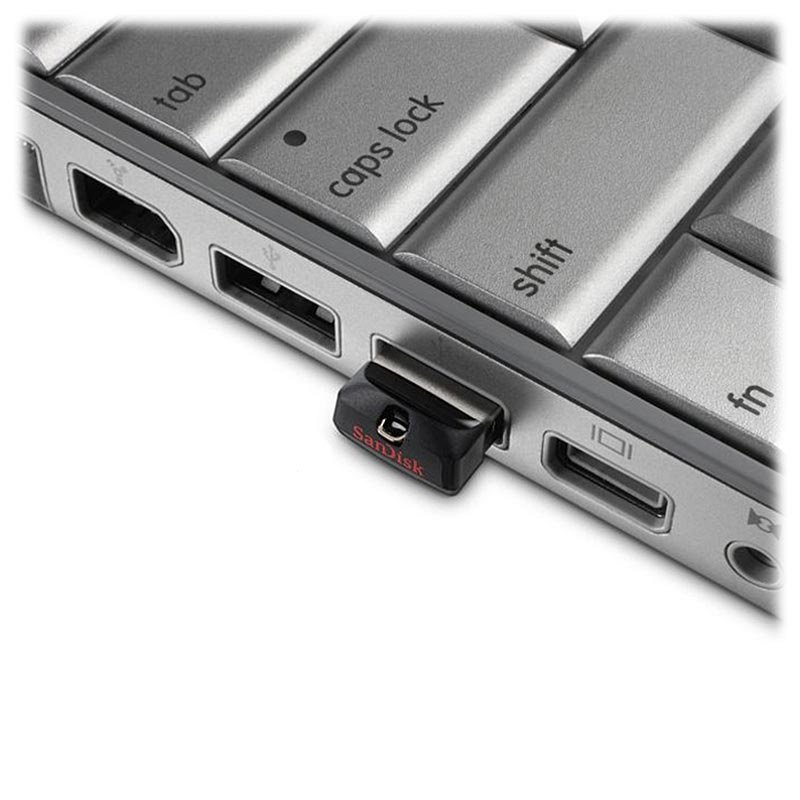
The most sensitive part of the USB memory stick is its USB connector. Dirt, dust, and other particles can damage the connector giving rise to connectivity problems. Always opt for USB flash drives with caps or similar protective features.
Sparks are Not Ok
Seeing sparks flying could be good if you are falling in love, but that’s not the case if it is happening with your USB pen drive and the USB port. Electronic static discharges could hint at problems with hardware. Stop using the ports and pen drive, and take immediate action to avoid damaging your gadgets.
Safely Unplug
It is not advisable to keep your thumb drives plugged into your computer or other device’s USB ports if they are not in use. Doing this can reduce their life cycles. Additionally, it also raises the risk of accidentally damaging them.
Furthermore, always use the Safely Remove or Eject USB Drive feature to prevent data corruption. Using this option informs the connected device to stop writing to or reading from it, which will help prevent data loss. Finally, make sure to gently remove USB drives rather than yanking or pulling them out.
Scan for Viruses and Malware
Since USB pen drives can make the rounds of different systems, it is quite common for viruses and malware to board them. Always run a security and anti-virus scan process before you use them to avoid data corruption and introduce these unwanted guests to your system.
Back up Data Always
USB memory sticks are primarily intended for temporary storage. Hence, it is always a good idea to back up any data that you may need for a longer period. This step also helps in case your files are accidentally deleted from the drive.
Edit On Copied Data
If you need to edit files on your USB stick, do so by copying them onto your personal computer. This will help reduce the risk of data corruption. Copy the data back once you are done.
Do Not Defragment
Defragmentation is a common process for disk management on computers. This file system maintenance reduces fragmentation to prevent file system errors and problems. However, your pen drive does not need this.
Since this process of optimisation is essentially a write operation, you will be enhancing the degradation process of your USB drive. Make sure you disable auto-defragment on your drive as well.
How to use a USB stick
Using a USB memory stick is a relatively straightforward process.
- Plug your USB drive into the compatible USB port on your computer.
- USB drives are detected automatically on most systems and a dialogue box will pop up.
- If a pop-up does not appear, you can find your drive under ‘This Mac’ on a Mac or ‘This PC’ on a PC.
- Once opened, you will see the list of data on your pen drive in a file explorer window.
- You can then transfer data between the USB and your computer.
- Close all files before removing the drive.
- Right-click on the USB drive and select “Eject” or a similar option.
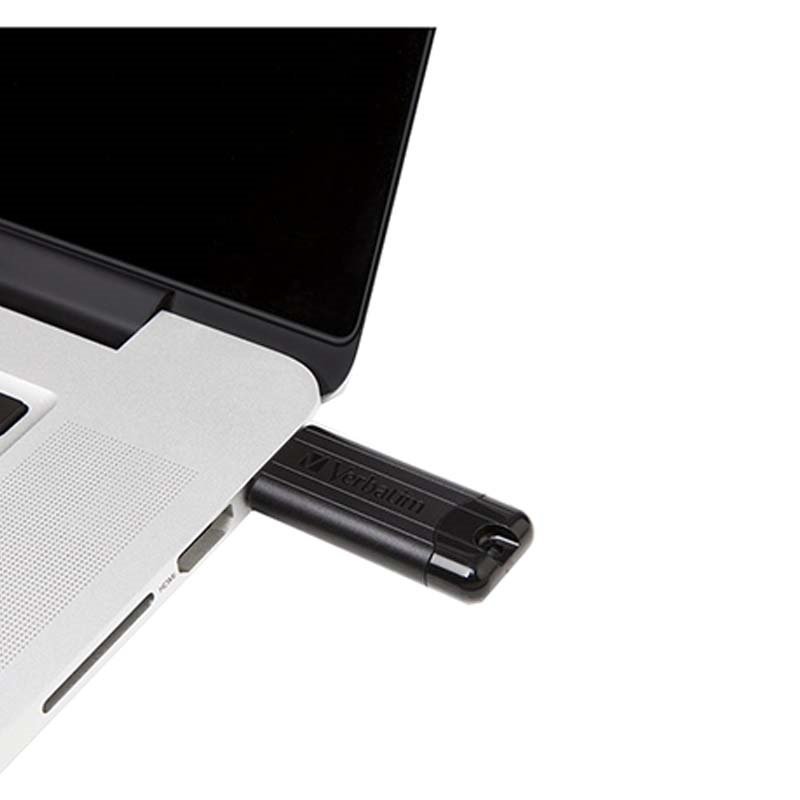
- Gently remove your pen drive from the port.
How to format a pen drive on a computer
To format your thumb drive, plug it into your computer. Follow the steps below,
Windows System
- Open ‘File Explorer’ and click on ‘This PC’.
- Right-click on your flash drive under the “Devices and drives” section, and select the Format option.
- Select your preferred file system from the “File system” drop-down menu.
- Use the default selection in the “Allocation unit size” drop-down menu.
- In the “Volume label” field, confirm a drive name that will appear in File Explorer.
- Depending on your requirement you can choose Quick Format under the “Format options”.
- Click the ‘Start’ button to initiate formatting.
- Click the ‘Yes’ button.
Mac OS 10+
- Head to ‘Applications’, then ‘Utilities’, and launch ‘Disk Utility’.
- From the list on the left select your USB drive.
- Select “Erase” at the top and then type in a “Name” for the drive, then select a “Format” (file system).
- Select “Erase” to begin formatting.
- Select “Done”.
How to create a bootable USB stick
Remember to backup all your files before you install or reinstall an OS. To create a bootable USB pen drive you will need a stable internet connection and at least 8GB or more depending on the OS requirements.
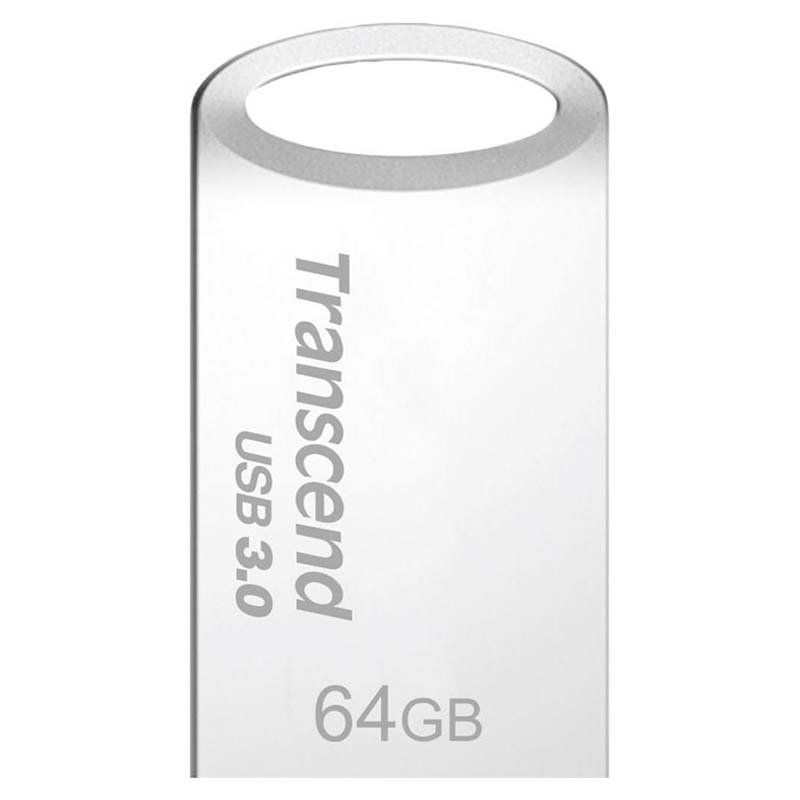
A 64GB USB pen drive is always a safer choice. Make a USB bootable with the following steps.
Windows 10 Bootable ISO (At least 8GB storage)
- Connect your pen drive to your system and if needed format to exFAT.
- Download the Windows Media Creation tool available for free from Microsoft.
- Launch the MediaCreationToolxxxx.exe file by double-clicking on it. Click ‘Accept’ on the pop-up.
- Select the ‘Create installation media’ option and then click ‘Next’.
- Choose the language, architecture, and edition. Depending on your system requirements, you can choose a 64-bit version and/or a 32-bit version. Alternatively, you can choose to ‘Use the recommended options for this PC’.
- Once you click ‘Next’, select the USB flash drive and then ‘Next’.
- Select your USB drive from the list or click on ‘Refresh drive list’ if it isn’t displaying. Click ‘Next’.
- It should take about 30 minutes to complete, then click ‘Finish’.
- You will find your drive renamed to USB-ESD (Electronic Software Delivery) or similar when you check your drives on ‘This PC’.
macOS Bootable USB (At least 16GB storage)
- Connect your pen drive to the port and format the drive to Mac OS Extended (Journaled).
- For the latest versions of macOS, open ‘System Preferences’ and navigate to ‘Software Update’. Select and download the installer. Alternatively, you can use the App Store to find your desired MacOS.
- Quit the installer once it downloads and opens. Ensure that the installer is in your Applications folder.
- In your Applications folder, open ‘Terminal’ from the Utilities folder.
- Use one of the following commands corresponding to your OS in the Terminal. Remember to replace “MyVolume” with the name of your USB drive.
Monterey:
sudo /Applications/Install\ macOS\ Monterey.app/Contents/Resources/createinstallmedia –volume /Volumes/MyVolume
Big Sur:
sudo /Applications/Install\ macOS\ Big\ Sur.app/Contents/Resources/createinstallmedia –volume /Volumes/MyVolume
Catalina:
sudo /Applications/Install\ macOS\ Catalina.app/Contents/Resources/createinstallmedia –volume /Volumes/MyVolume
Mojave:
sudo /Applications/Install\ macOS\ Mojave.app/Contents/Resources/createinstallmedia –volume /Volumes/MyVolume
High Sierra:
sudo /Applications/Install\ macOS\ High\ Sierra.app/Contents/Resources/createinstallmedia –volume /Volumes/MyVolume
El Capitan:
sudo /Applications/Install\ OS\ X\ El\ Capitan.app/Contents/Resources/createinstallmedia –volume /Volumes/MyVolume –applicationpath /Applications/Install\ OS\ X\ El\ Capitan.app
Note: For systems with macOS Sierra or earlier, include the –applicationpath argument and installer path, like that in the command for El Capitan.
How to password-protect a USB flash drive
Many operating systems will support encryption features, but you can also look for third-party apps that do the same. You may want to backup all data on your drive before going ahead.
Here is how to password protect USB flash drives.
On Windows 10 Using BitLocker
- Plug your USB drive into your computer.
- Open ‘This PC’ and right-click on your USB’s drive name.
- Select ‘Turn on BitLocker’ in the menu.
- In the pop-up, select ‘Use a password to unlock the drive’ and enter a password twice. Click ‘Next’.
- Choose where or how you want to receive your recovery key in the next window and then click ‘Next’.
- Select ‘Encrypt the entire drive’ and then ‘Next’.
- Choose ‘Compatible mode’ in the ‘Which encryption mode’ screen and then click ‘Next’.
- Click ‘Start Encrypting’ to initiate the process.
- Double-click the drive and enter the password to access it after encryption.
On Mac OS using Disk Utility
- Open the Disk Utility app on your Mac, then choose View > Show All Devices. Alternatively, in the Dock click the Launchpad icon and type Disk Utility in the Search field, then click the Disk Utility icon.
- Select the storage device to encrypt in the sidebar.
- In the toolbar, click the Erase button.
- Enter a name for the volume.
- Click on the Scheme pop-up menu, and choose ‘GUID Partition Map’.
- Click on the Format pop-up menu, and choose an encrypted file system format.
- Enter and verify a password, then click ‘Choose’.
- Click on ‘Erase’, and then ‘Done’.
How to recover files from a USB flash drive
If you have noticed data loss on your USB stick, make sure to stop using it immediately, disconnect it from your device until you have planned a recovery, and avoid trying to copy data from it.
While it may not be possible to completely recover all deleted files, you can try to follow one of the following processes to recover lost data.
Command Prompt
- Plugin your USB flash drive to your computer.
- Type “cmd” and hit Enter in the Start menu.
- In the command prompt, type “chkdsk X: /f” and hit Enter. Make sure to replace the “X” with the drive letter assigned to your USB flash drive.
- Type “ATTRIB -H -R -S /S /D X:*.*” and hit the Enter key. Make sure to replace the “X” with the letter assigned to your USB flash drive.
- Wait for the process to complete.
On successful completion, you will see a new folder in your USB drive with the deleted data.
Windows Restore Previous Versions
If you have enabled Restore previous versions on Windows 7 and above, it is possible to recover lost data on your pen drive.
- Plugin your USB flash drive to your computer.
- In the Start menu, type “This pc”, and hit Enter.
- Select Properties by right-clicking on your USB flash drive.
- Choose the “Previous Versions” tab and you will find a list of available recovery options.
- Select the version you want to be restored and click “Restore”.
Use Third-party Recovery
Many data recovery software will help you recover lost data. Once you find a reliable and trustworthy app, simply follow the instructions to recover the data.
Plug and Play Your Pen Drives
USB pen drives are great for backing up data from iPhones, smartphones, tablets, and other gadgets. You simply need to connect these devices to a computer or a laptop and drop the files from the device into your USB drive.
For memory cards, you may want a good card reader to build the bridge between your personal computers and your USB drives.
We hope this post has helped you fix any USB memory stick problems that you were encountering. Want to discover more useful blogs or need a gadget update? Get in touch with us!

