Your external hard drive might be an important asset at work or school. These storage solutions make it easy to share large files and other data easily without the time delay that uploading and downloading from cloud storage introduces. You can learn more about external hard drives in our buying guide to external hard drives.
But as with any digital gadget, you may encounter issues with it at some point in time.
In this post, we will look at some common external hard drive problems and their potential solutions. We will also give you a few tips along the way on how to use your external hard disk correctly to prevent data loss and other errors.
Why is my External Hard Drive Not Showing Up?
If your external hard drive is not detected by your system, then it could be because of the following problems.
Hardware Issues
Faulty hardware can be a potential cause for your external hard drive not being detected. External HDDs can easily suffer damage from falls and impacts due to their mechanical components. Damaged cables or USB ports could also be an issue.
Driver Issues
Drivers are the communication bridges between your device and your system. If your drivers are not regularly updated, they may not be equipped to handle communication between devices. Furthermore, corrupted drivers can longer offer their functionality.
File System Format
The compatibility of the file system on your driver with your host device is another possible reason why your external disk drive is not detected. Read the How to Format an External Hard Drive section to learn more about file systems.
Power Issues
If your external hard drive requires an external power source, check that you have plugged it in. Additionally, not using the right USB port can also cause issues. If your disk drive uses USB 3.0, it should be connected to USB 3.0 ports as USB 2.0 ports cannot provide enough power supply.
How do I Fix External Hard Drive Detection Issues?
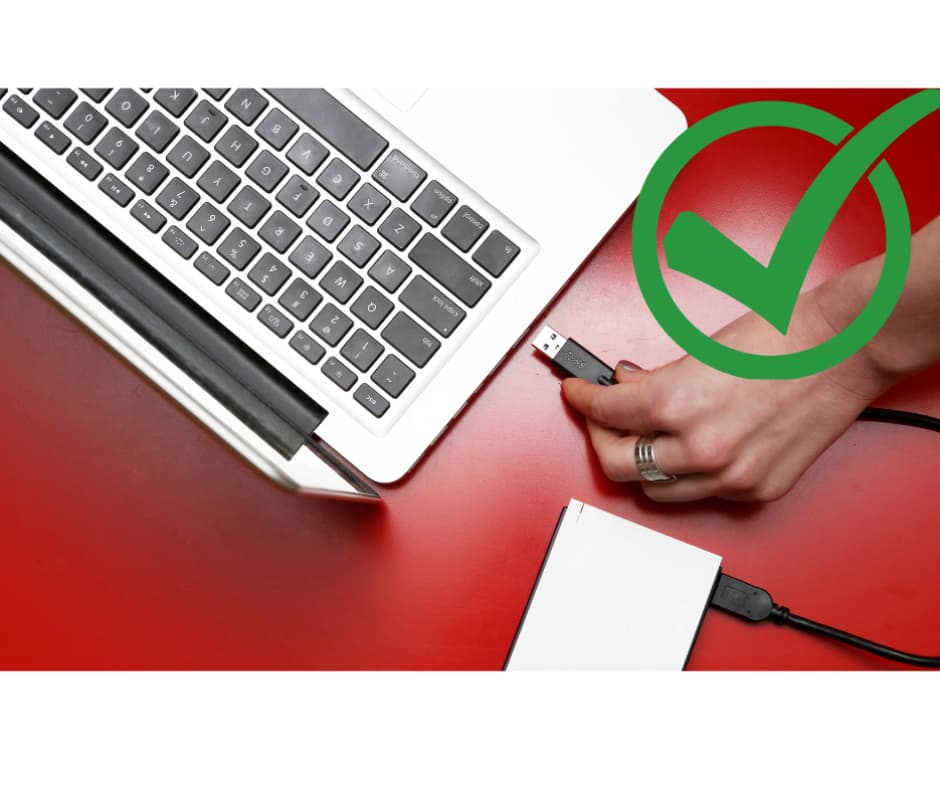
Here are some ways you can try to solve external hard drive boot problems.
Restart Your System
Sometimes simply restarting your system can resolve the issue quickly.
Try Connecting to a Different USB Port or Computer
Use a different USB port on your computer. If it still does not work, try connecting to a different system. Also, use a different cable if the above approaches fail. Ensure your power cables, if any, are connected and working. If your external disk drive has a power button, make sure you have turned it on. These steps will help eliminate any hardware issues.
Check for Device Driver Issues
On your Windows system follow the steps below to check for driver issues.
- Plug your external hard drive into your computer.
- Open the Disk Management tool by
- Pressing Win + X
- Right-clicking the Start button to open the Power User menu and clicking Disk Management from the list
- Opening Run dialog with Win + R and entering diskmgmt.msc
- Expand the Disk Drive Category and look for devices with a yellow exclamation point next to them. Also, check the Universal Serial Bus Controllers section for the same.
- Right-click on the device with the exclamation and select Properties.
- You should be able to find the error message under Device Status.
Here are a few general solutions to the Device Status error messages.
- Try running System Restore if the problem has occurred recently. This will roll back any recent changes that were made.
- Right-click on the device and click on Properties. You can try the following approaches from the Device Manager window.
- Update Driver to install an updated driver. We recommend checking the manufacturer’s website to get specific drivers.
- Click on the Driver tab and select Roll Back Driver to revert any recent driver updates.
- Click on the Uninstall Device button to remove the device and restart your system. This should force Windows to reinstall the driver and potentially correct the issues.
Use Disk Management to Check Disk Driver
On your Windows system follow the steps below to check the drivers:
- Plug your external hard drive into your computer.
- Open the Disk Management tool by
- Pressing Win + X
- Right-clicking the Start-button to open the Power User menu and clicking Disk Management from the list
- Opening Run dialog with Win + R and entering diskmgmt.msc
- Your drive should be below the primary disk, and any secondary disks. It should appear as a Removable volume.
- If it is available in Disk Management, follow the steps for creating a new drive volume.
Create a New Drive Volume
If any of the above solutions have made your external drive visible, then the next step is to initialise the drive.
If your drive shows only Unallocated space, you will have to create a new partition for operating systems to use the storage space.
Here is how to partition an external hard drive.
- Right-click anywhere on the Unallocated space and select New Simple Volume.
- Follow the wizard to create a new partition.
- Once the partition is complete, you will be able to see it on This PC and use it.
If your drive is partitioned and it is still not visible on your system, you will have to set a drive letter.
Here is how to change the drive letter
- Right-click the drive’s partition and select Change Drive Letter and Paths.
- If it has no letter allocated, then click Add and choose one. If it does, click Change and try another one.
- Ensure you select to display all drives in This PC to make the drive show up.
Avoid using letters, like A and C as they are reserved by Windows. In general, later letters of the alphabet like G and J are standard choices for removable drives.
Format the External Hard Drive
If all else fails, you may have to format your external hard drive. This process will result in the erasure of all the data on the drive.
How do I Solve External Hard Drive Detection Issues on Mac?
Mac systems are slightly different from Windows systems. While some of the previously mentioned approaches are applicable for macOS, here are a few more solutions specific to these systems.
File System Compatibility Issues
Mac systems work with certain file systems only. If your external hard drive is not optimised to be used with macOS, simply plugging the drive will not allow you to access it.
To check if your drive is incorrectly formatted, go to Apple in the top toolbar menu, then About This Mac and click on Storage. If your drive shows up here, then it is most likely a formatting issue. You can also go through the System Report in the same menu option for more information.
Drive Not Displayed on Desktop
There is a possibility that your system recognises the drive, but simply does not display it. Usually, you should still be able to find the drive in the left-hand column of the Finder menu under Locations.
Here is how to find an external hard drive on macOS:
- Go to Preferences in the Finder menu and select General.
- Check the External Drives and it should enable drives to be shown on your desktop.
Try Resetting NVRAM
Follow the steps below to reset the NVRAM.
- Shut down your system and switch it back on
- Immediately and simultaneously press Option, Command, P, and R for at least 20 seconds
- When it appears that your system is restarting again, release the keys
- You will hear a second start-up chime
Check Apple’s Disk Utility
Head over to System Preferences and find Disk Utility. You can also use Spotlight to do the same. If you can find your external hard drive here, click on the Mount option to make it visible on your desktop and in the External Drives option in the Finder menu.
How do I Format an External Hard Drive?
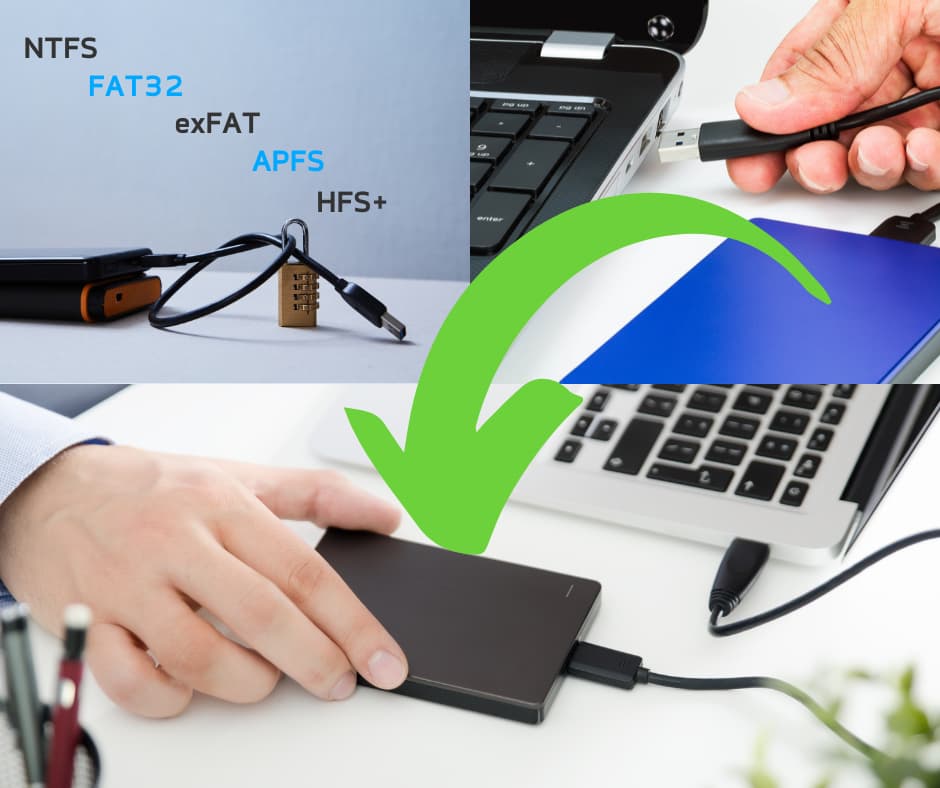
Whether you are using a brand-new hard drive or repurposing an old one with a new system, formatting your hard drive to a compatible file system format of your connected system is important.
Most external hard drives are formatted to be used with Windows OS. And while they are compatible with macOS, you will need to reformat them in most cases.
File System Formats
Before we look at how to format your external drive, here are the five main file systems that you are most likely to use.
New Technology File System (NTFS)
NTFS is the default file system for Windows operating systems, which means that Windows-based systems can read and write to these format drives without any issues. However, these drives can only be read by macOS and Linux systems. You would require additional third-party software to write to these drives on these systems.
File Allocation Table 32 (FAT32)
This older file system is recognised by Windows, Linux and macOS systems. However, FAT32 does not support the installation of newer versions of Windows and requires individual files to be no more than 4GB in size.
Extended File Allocation Table (exFAT)
exFAT is compatible with both Windows and macOS systems and unlike its predecessor, FAT32, it does not have a file-size limitation. However, this file system cannot be used with File History or Time Machine.
Apple File System (APFS)
As of High Sierra, the APFS is the newer file system intended for internal drives in macOS systems. This is designed to be used with external SSDs and delivers better performance and reliability. However, APFS is not compatible with OS X Sierra or older systems. Furthermore, additional software is required if you wish to read this file system on other operating systems.
Hierarchical File System Plus (HFS+)
Also known as macOS Extended Journaled, the HFS+ is recommended for external HDDs. This Apple-developed file system is the primary Mac OS X file system.
Formatting/Reformatting External Hard Drives
In this section, we will guide you step-by-step on the process of formatting or reformatting your external hard drive for different operating systems.
If you are reformatting your storage device, remember to backup all your important data before you format the drive.
How to Format an External Hard Drive Windows 10
- Connect the external hard drive to your computer. If it requires an external power source, make sure the power cable is plugged in too.
- Your system should automatically detect your device. If not, open File Explorer and locate the drive in the sidebar.
- Right-click on the drive and choose Format to initiate the formatting process.
- Select an appropriate format under File System.
- You can customise the drive name under the Volume Label.
- Check Quick Format and click Start to format the drive.
- You will receive a message once the drive is successfully formatted.
How to Format External Hard Drive For macOS
- On your macOS system, open Finder then Applications and click on Utilities. You can also use the shortcut Shift + Command + U. Double-click on Disk Utility.
- In the left-hand sidebar, select the drive you want to format and go to the Erase tab.
- Select an appropriate format under File System under the Format menu.
- You can customise the drive name before clicking the Erase button.
- You will receive a message once the drive is successfully formatted.
How do I Fix a Corrupted External Hard Drive?
If you can see your external drive on your system then you can use the following two approaches to deal with a corrupted external hard drive. These approaches, however, may result in data loss or only leave fragments of data available.
Before trying these approaches, we recommend that you use reliable data recovery software to recover corrupted files and data.
Scan the External Hard Drive
- Open This PC or My Computer
- Select your external hard drive
- Right-click and select Properties
- From Properties, click on Tools and then click on Check
- This will scan your drive and fix any drive errors
Use chkdsk on Windows System
- Press X + Win and select Command Prompt. Alternatively, right-click on the Start button and enter “cmd” in the search box and press Enter. Click on the new window, “cmd.exe.”
- You will see something like C:\Users\Asus EV> or C:\Windows\system32> in the command prompt. Type “chkdsk d: /f” or “chkdsk d: /r”, where you replace “d” with your external hard drive’s letter.
The parameter “/f” should correct any errors on the disk, while the parameter “/r” rectifies any bad sectors on the disk.
Best Practices to Avoid Problems with External Hard Disk
All electronic devices have a set lifespan. To make the best use of your external hard disk, here are a few tips.
- Have an antivirus program installed on your system.
- Use your external hard drive under proper operating conditions.
- Always use Safely Eject or similar options to prevent the chances of data loss or corruption.
- Do not pull or yank on cables to avoid damaging them.
- Monitor the health of your external hard drive regularly using “chkdsk” and S.M.A.R.T programs.
- Do not overfill your hard drive and compress files, when necessary, before storing.
- Store your external drives appropriately to avoid external damage from affecting them.
Ready to Save Your Data
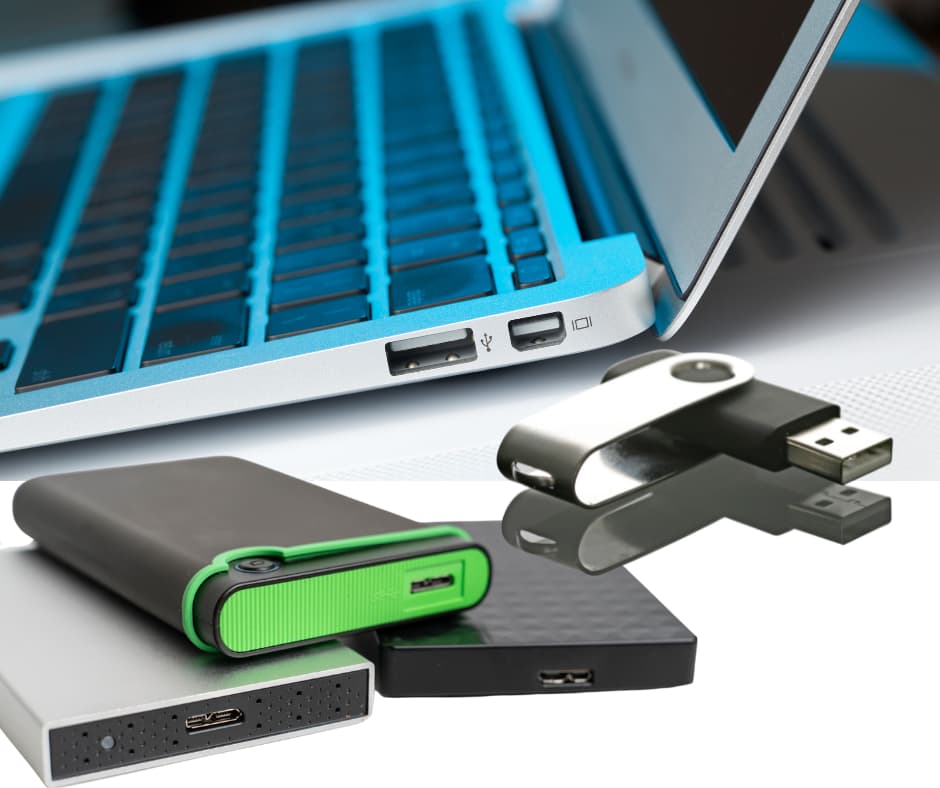
We hope this post has helped you learn how to fix external hard drive problems. But external hard drives are not the only portable storage solutions for your digital data.
Want to discover what portable storage device is the right choice for you? Check out our guide to portable storage devices, to learn more about portable storage solutions!
Find the best external hard drives from Western Digital, Samsung, Toshiba and many more brands with us! If you need any assistance with choosing one that fits your needs and storage requirements, you can get in touch with our team!

