


Samsung Galaxy S5 Display Assembly Replacement

Send this link via e-mail
|
Tweet |
|
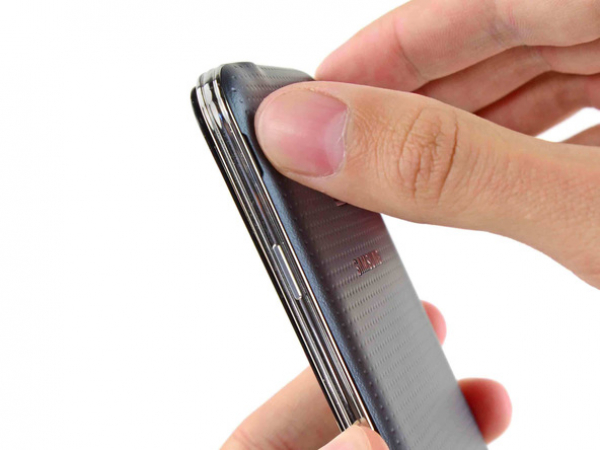


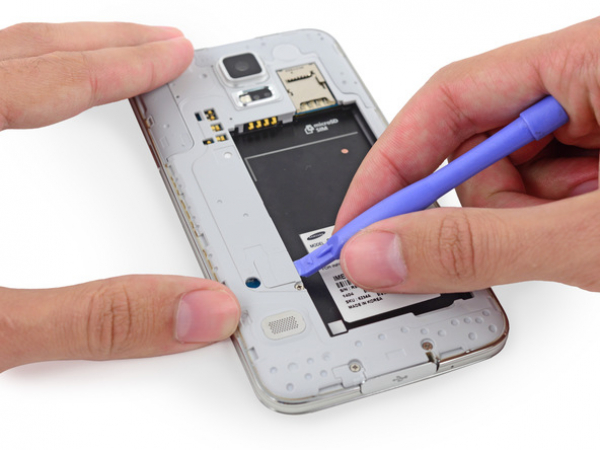
Step 1 - Rear Case
Push a plastic opening tool or one of your fingernails into the opening to the left of the rear-facing camera.
Separate gently and twist the rear cover in order to get it off the back of the phone.
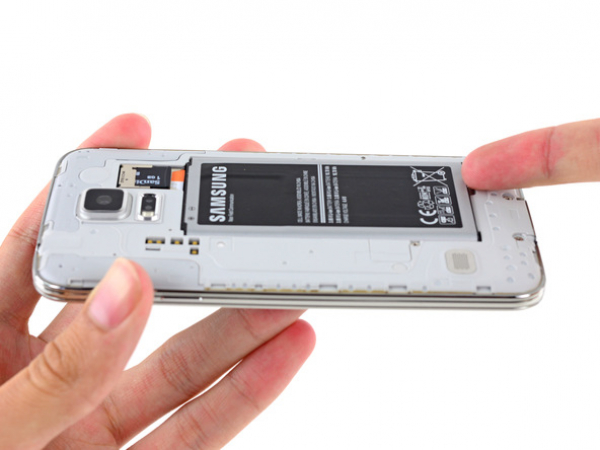


Step 2 - Battery
Back to top
There is a recess in the bottom right corner of your phone's battery. Once again, push a plastic opening tool or your fingernail into the recess, and lift up the battery.
Take the battery out of the phone.
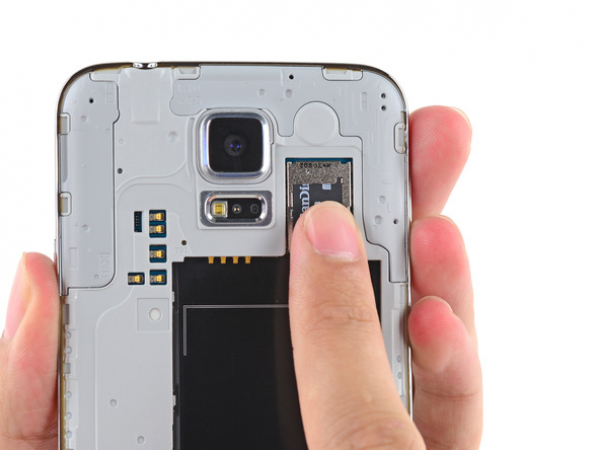


Step 3 - MicroSD Card
Back to top
Pull down the microSD card out of its slot with your fingertip.
Take the microSD card out of your phone.
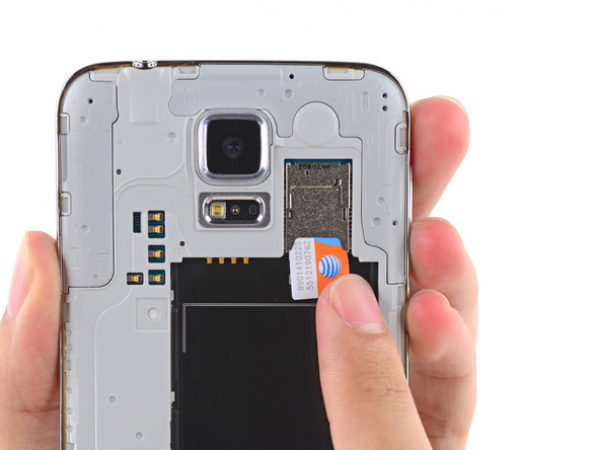
Step 4 - SIM Card
Back to top
Take out the SIM card the same way you took out the microSD card in the previous step.


Step 5 - Display Assembly
Back to top
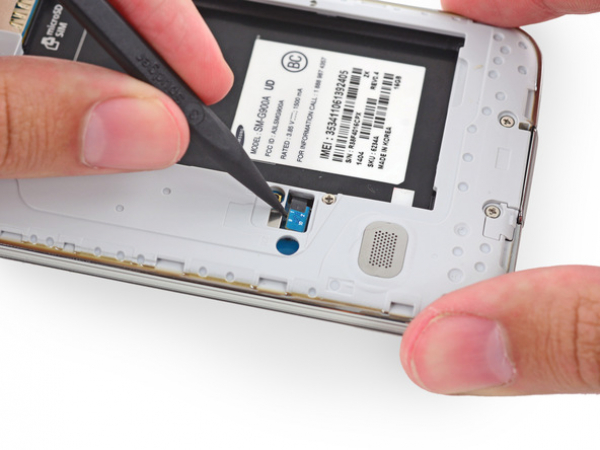
Lift up the plastic midframe connector panel using a plastic opening tool.
Take out the connector panel with a pair of tweezers.
In case there isn't enough adhesive to put the panel back on your phone during the reassembling process, use a small amount of double-stick tape.


Step 7
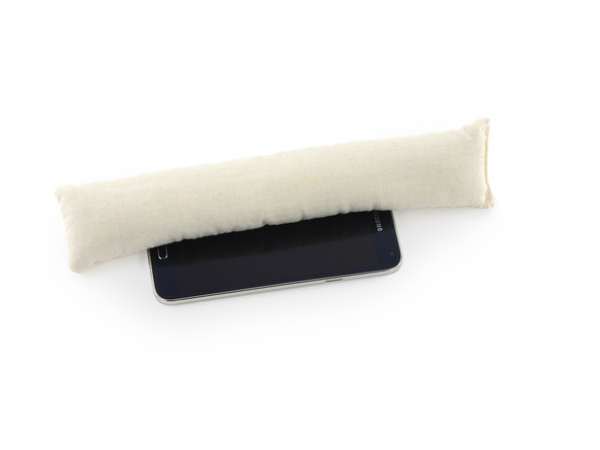
In the following steps, you will need to use an iOpener in order to warm the adhesive holding the display assembly to the rest of your phone. This way, you can remove the screen of your device more safely and easily. Remember to clean your microwave before putting the iOpener in it and make sure that the iOpener is clean, too. Heat the iOpener for one minute only, at the highest power setting. When it cools down, reheat it for a minute at a time. Be careful not to overheat the iOpener, and always wait at least two minutes before reheating it. When you pull out the iOpener, be sure to hold it by its tag or a corner.
Put the iOpener on the left side of the phone for at least 90 seconds.
Reheat the iOpener, and repeat the procedure for the right side of your phone.
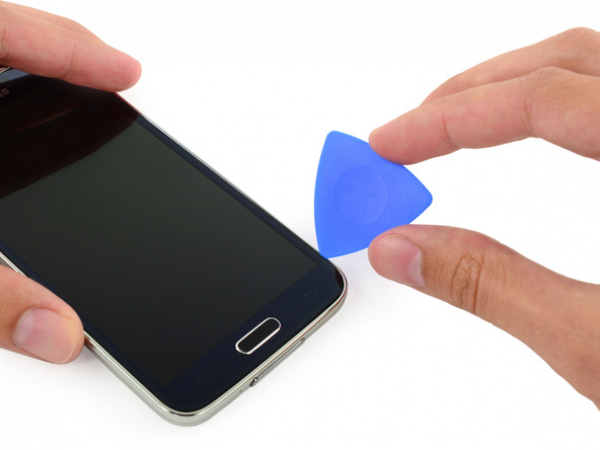


Step 8
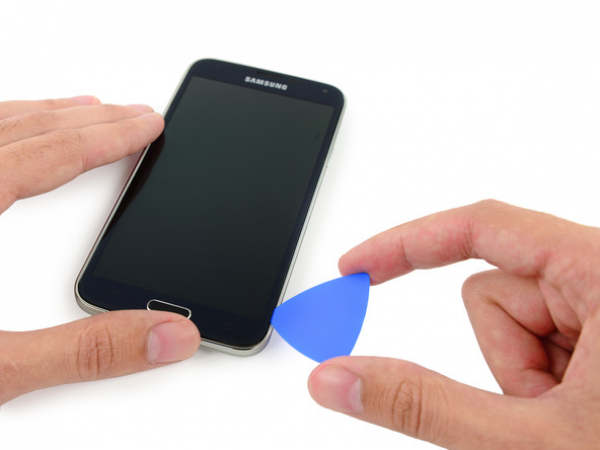
In the following steps, you will need to use an opening pick in order to remove the adhesive holding the front panel glass. Follow the instructions and pry only when you are told. If you encounter any resistance, reapply the iOpener and try again.
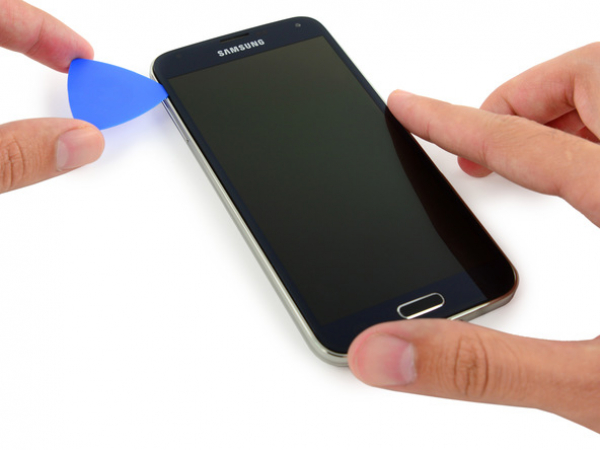
Push the edge of an opening pick under the bottom right side of the front glass.


Step 10
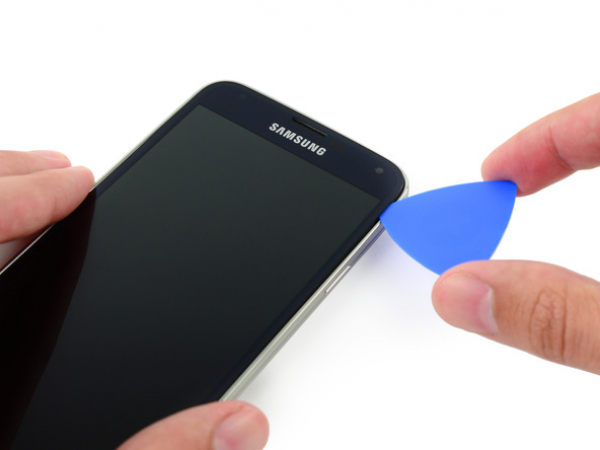
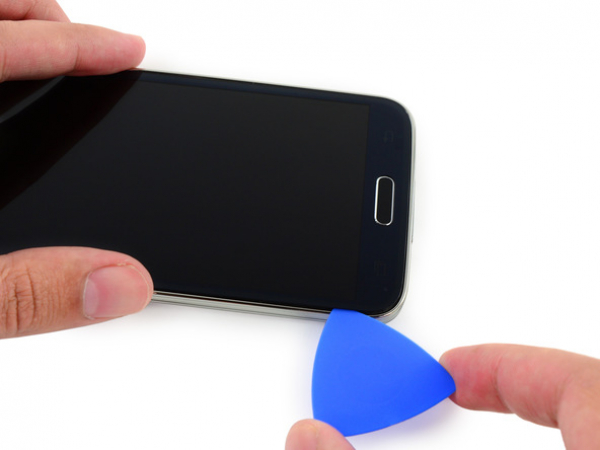
Slide the pick around your phone's corner gently, and stop before the speaker grille, located at the top of the phone.


Step 11
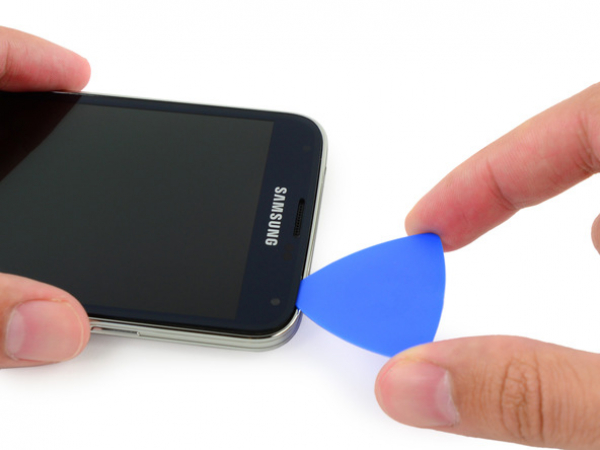
There is a narrow strip of adhesive above the earpiece speaker securing the top of the phone. Move the pick along the top of the speaker in order to avoid damaging internal components.
Slide the pick across the top of the phone. Be extremely careful not to push the pick in too deeply.


Step 12
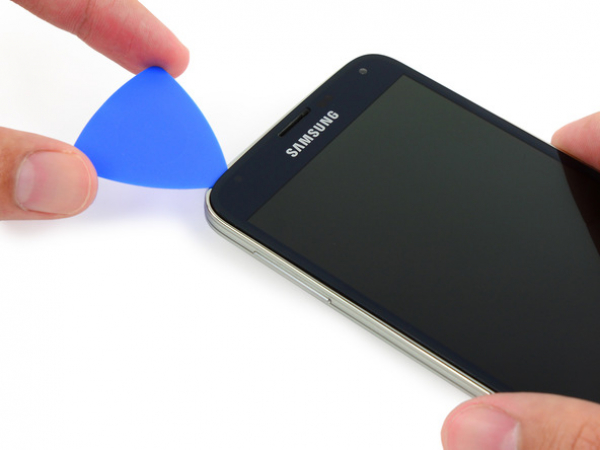
Slide the pick around the upper left corner carefully.
If you experience any resistance from the adhesive, reapply the iOpener to the left side of the phone, and try again.


Step 14
Make sure that the pick is securely placed and then slide it to the bottom left corner of the phone.
In the following step, you will need to place the iOpener over the home button end of your phone. You do not want your opening pick to slip out.
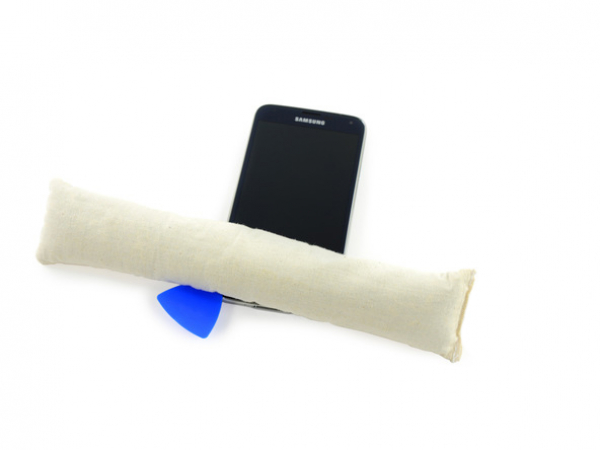
Step 15
Put the reheated iOpener over the bottom part of the display assembly.
This part of the phone holds delicate components, so make sure the adhesive is warm and easy to loosen. Otherwise, you can damage your phone.


Step 16
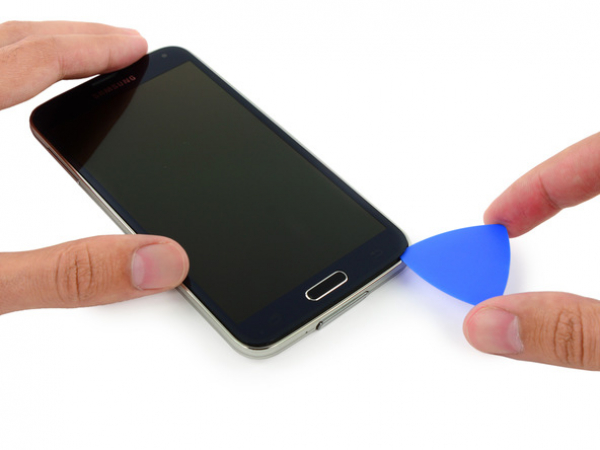
The soft button and home button ribbon cables are located at the bottom end of your phone. Bear in mind that these cables can be easily damaged in case you push the pick in too far.
Move the end of the pick across the bottom edge of the display in order to remove the remaining adhesive.


Step 17
You will need to twist the pick to detach the glass from the phone.
In case you find it hard to remove the front panel, you might need to cut the adhesive a bit more.


Step 18
If you cannot detach the front panel with ease, you might need to separate the adhesive on the soft button cable.
Bear in mind that these cables are thin and can be easily damaged. This is why you need to make sure that you are only peeling them off the assembly, and not cutting them.
Push the pick under the soft button icons on the display and lift the button cables from the inside of the front panel.


Step 19
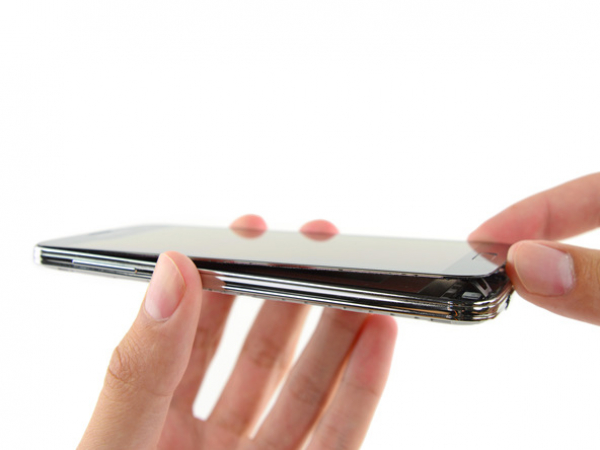
Lift, but do not remove, the home button part of display assembly.
Do not remove the front panel completely, because it is still attached to your phone by a connector.
If you plan on reusing the home button flex cable, make sure not to cut the cable from the home button. Adhesive can rip the cable and the home button apart. If this happens, your home button will still work, but the fingerprint scanner will not.


