


iPad 4 Wi-Fi Lightning Connector Replacement

Send this link via e-mail
|
Tweet |
|


Step 1 - Front Panel Assembly (2)
If there's a piece of electrical tape covering the Wi-Fi antenna, speaker cable and the home button ribbon cable, remove it.
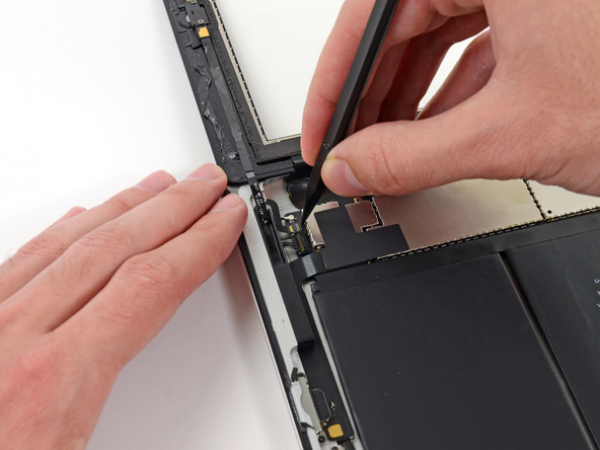


Step 3
Pull the home button ribbon cable out of its socket on the logic board. Do this with a pair of tweezers.
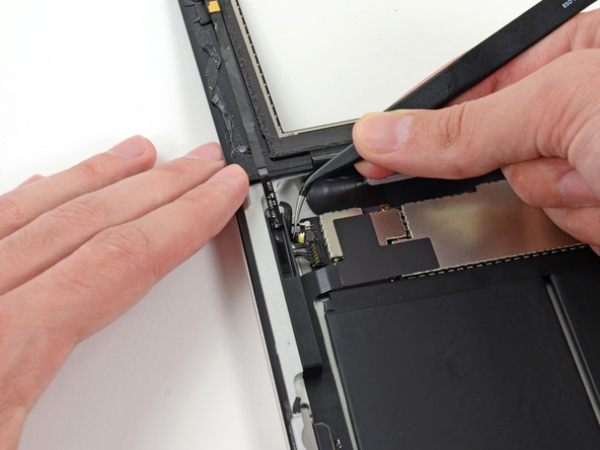
Step 5
A piece of tape is securing the digitizer ribbon cable to the logic board. Peel it back with a pair of tweezers.
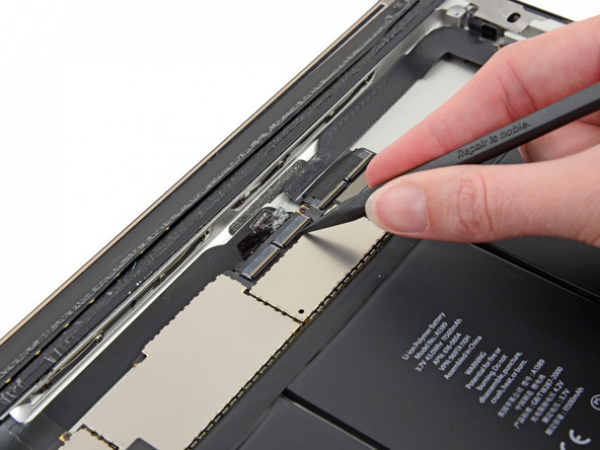


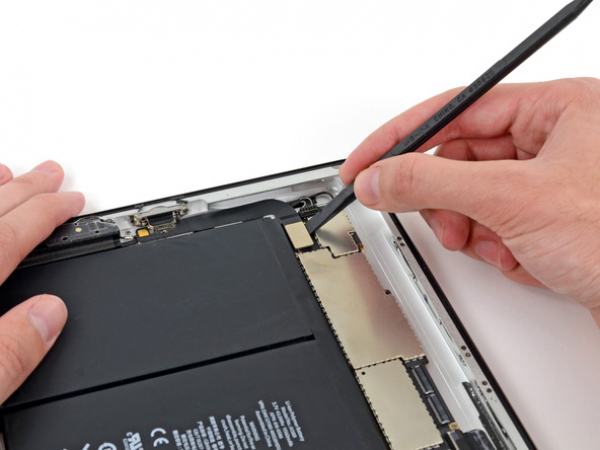
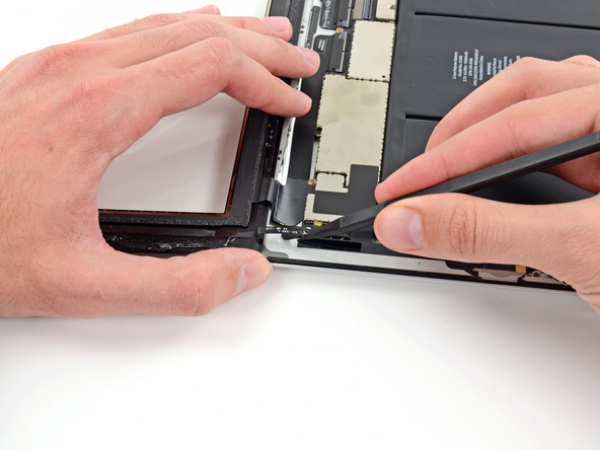
Step 7
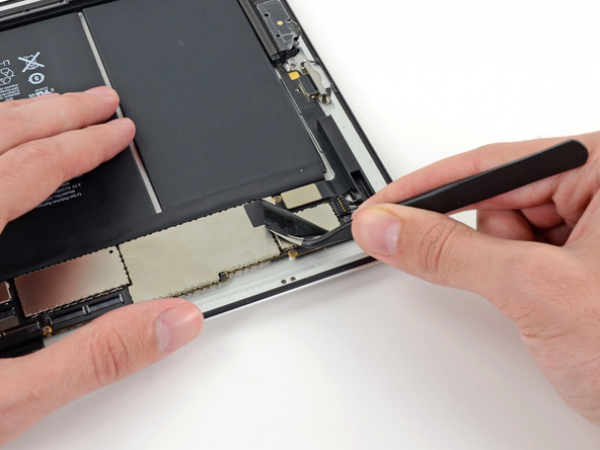
Loosen the adhesive under the digitizer ribbon cable with the flat end of a spudger.
Take out the digitizer ribbon cable out of its sockets on the logic board.


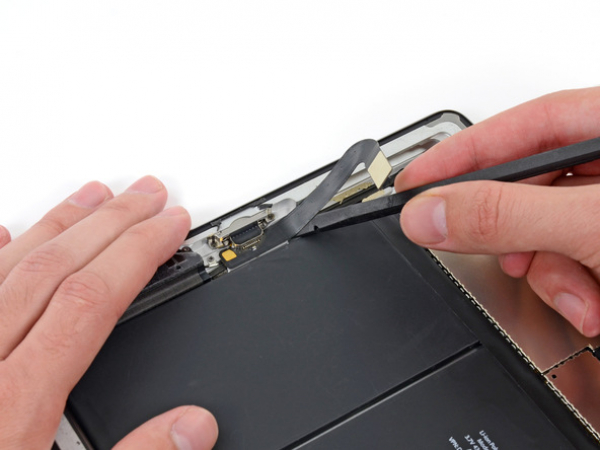
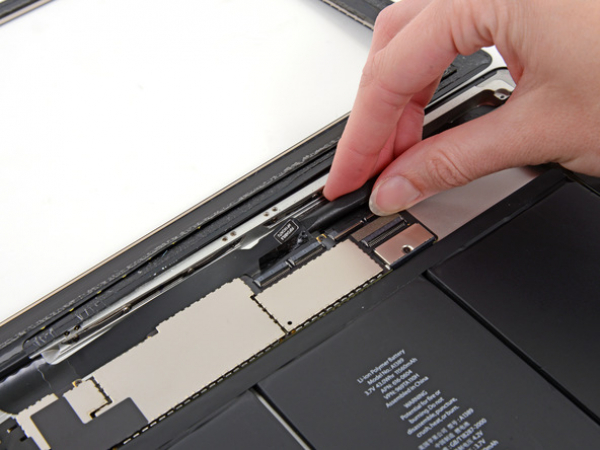
Step 8
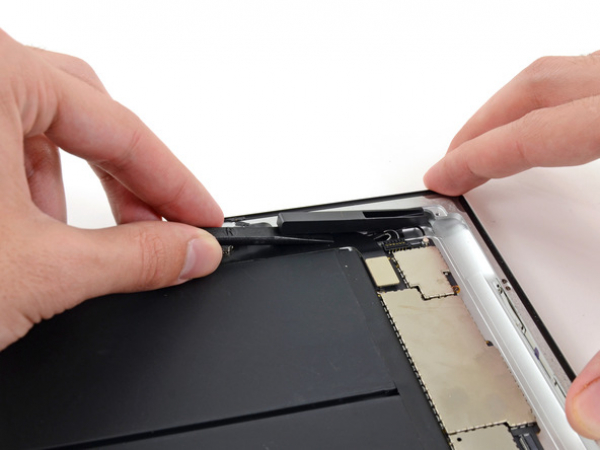
Peel back the digitizer ribbon cable. Separate the cable from the adhesive securing it to the rear aluminum case with the flat end of a spudger.
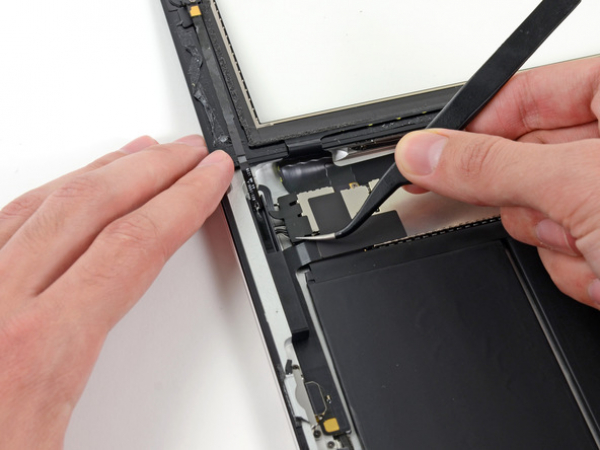
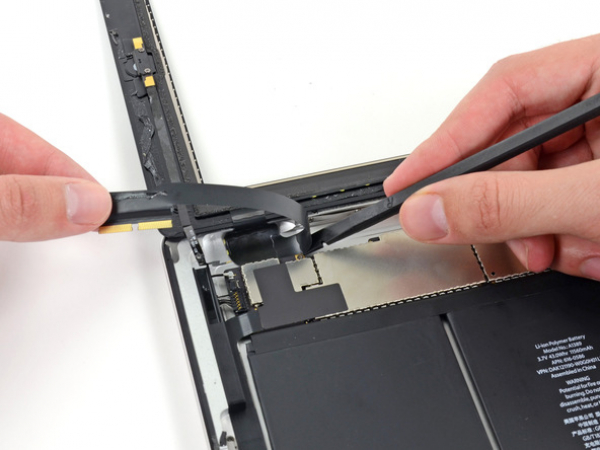
Step 9
Take the digitizer ribbon cable out of its niche in the aluminum frame. Do this with your fingers.
Separate the front panel from the iPad.
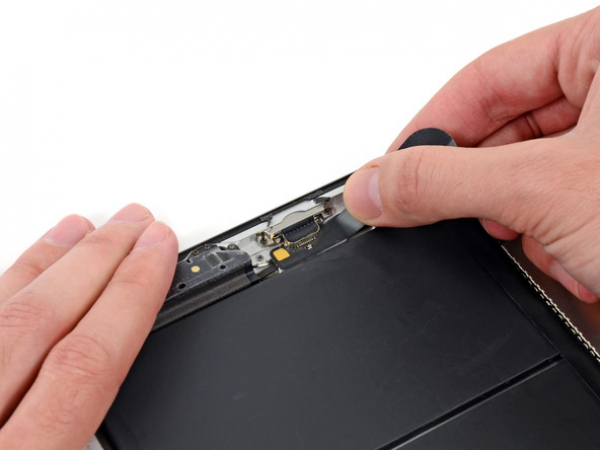
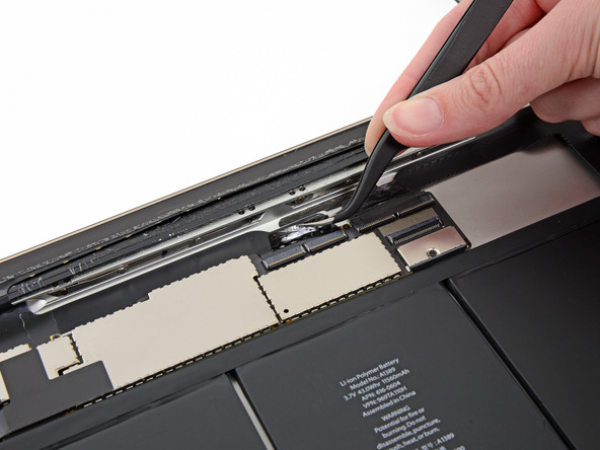
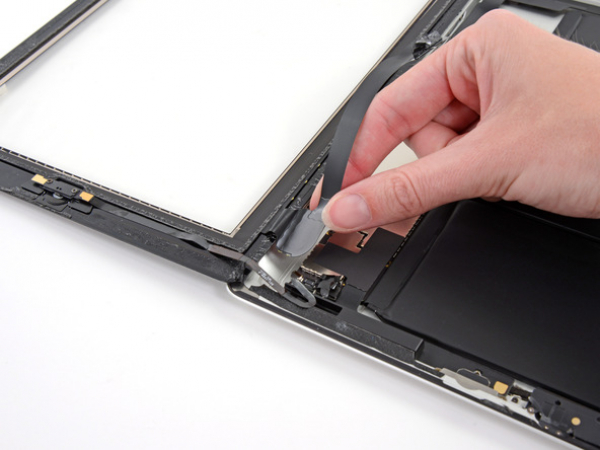
Step 10 - Electrical Tape
Back to top
If there's any electrical tape covering the Lightning connector cable, remove it.


Step 11 - Plastic Spacer
Back to top
Separate the plastic spacer from the rear case with the flat end of a spudger.
Take the plastic spacer off of your iPad.
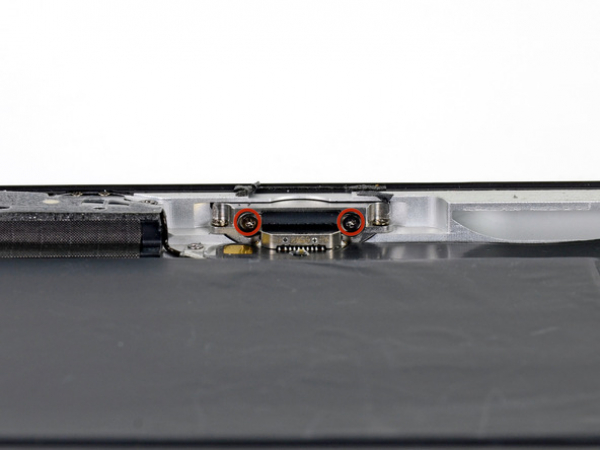
Step 12 - Lightning Connector
Back to top
Two 2.9 mm Phillips screws are securing the Lightning connector to the rear case. You need to remove them.