


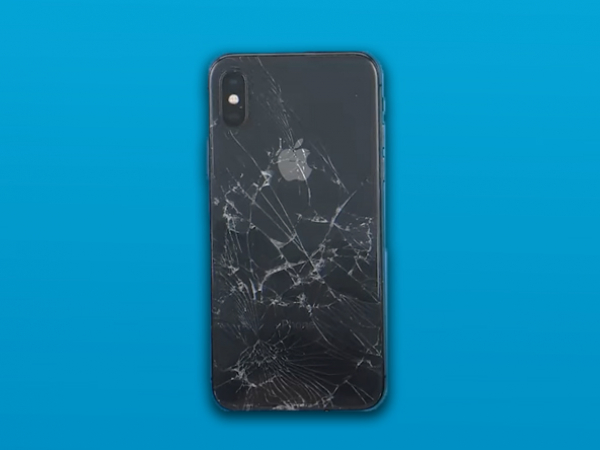
iPhone X Back Cover Replacement

Send this link via e-mail
|
Tweet |
|


Step 1 - BEFORE YOU START
- Discharge the battery to less than 25% before you begin disassembling the phone. - Turn off your phone. - Simply remove the SIM tray.
Caution:
- In case the battery has swollen: - Take the necessary precautions and steps, - Avoid heating up your phone. - Use hand and eye protection.
Tip:
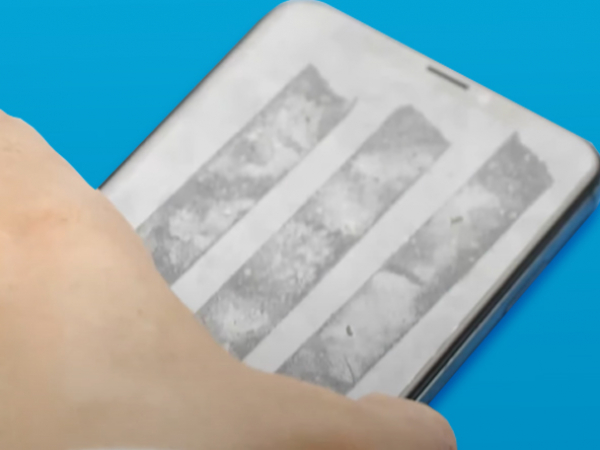
- If the display glass is shattered, tape over the glass to prevent additional breakage. - Cover the display with overlapping strips of clear self-adhesive tape.


Step 2 - SECURE THE PHONE
Back to top
- Attach three pieces of double-sided tape to the screen. - Pull the taper covers off.

Step 3 - BEGIN THE REPAIRING PROCESS
Back to top
- Set the wind speed to 100 and the hot air gun to a temperature of 270°C. -Warm the back cover.
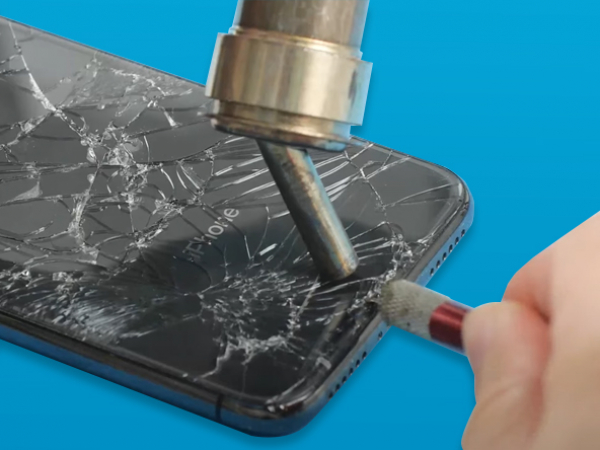


Step 4 - REPAIRING PROCESS
Back to top
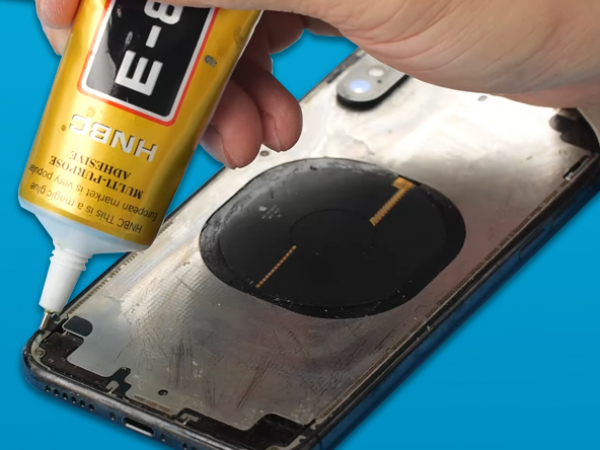
- Carefully remove the rear cover using a blade. - Be careful not to harm the plastic frame. - First, take out the piece of glass covering the Flex Cable for the Qi Wireless Charging Port. - Next, take the glass chunk off of it. - Don't hurt it while doing it. - And the other components. - Remove the glue
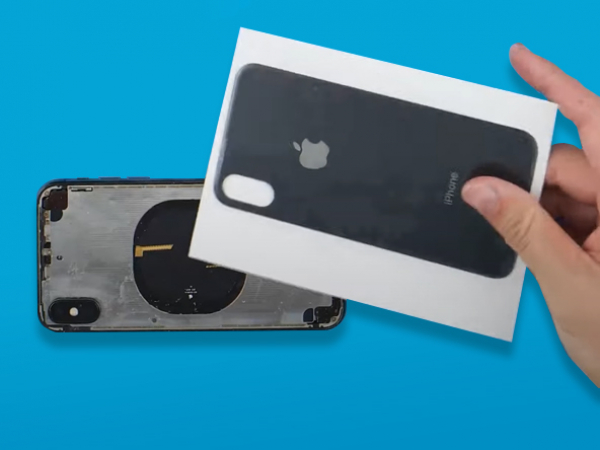


Step 5 - INSTALLING THE NEW GLASS
Back to top
- Take a new iPhone X rear case. - Install it on the phone if you can. - Remove the last piece of glass if there is a gap. - Try installing once more.